
Is your harness the other style of Push Pull? Click here

This Tutorial Will Be divided into 3 parts.
Pickups
Guitar Ground
Switch
Pickup Install

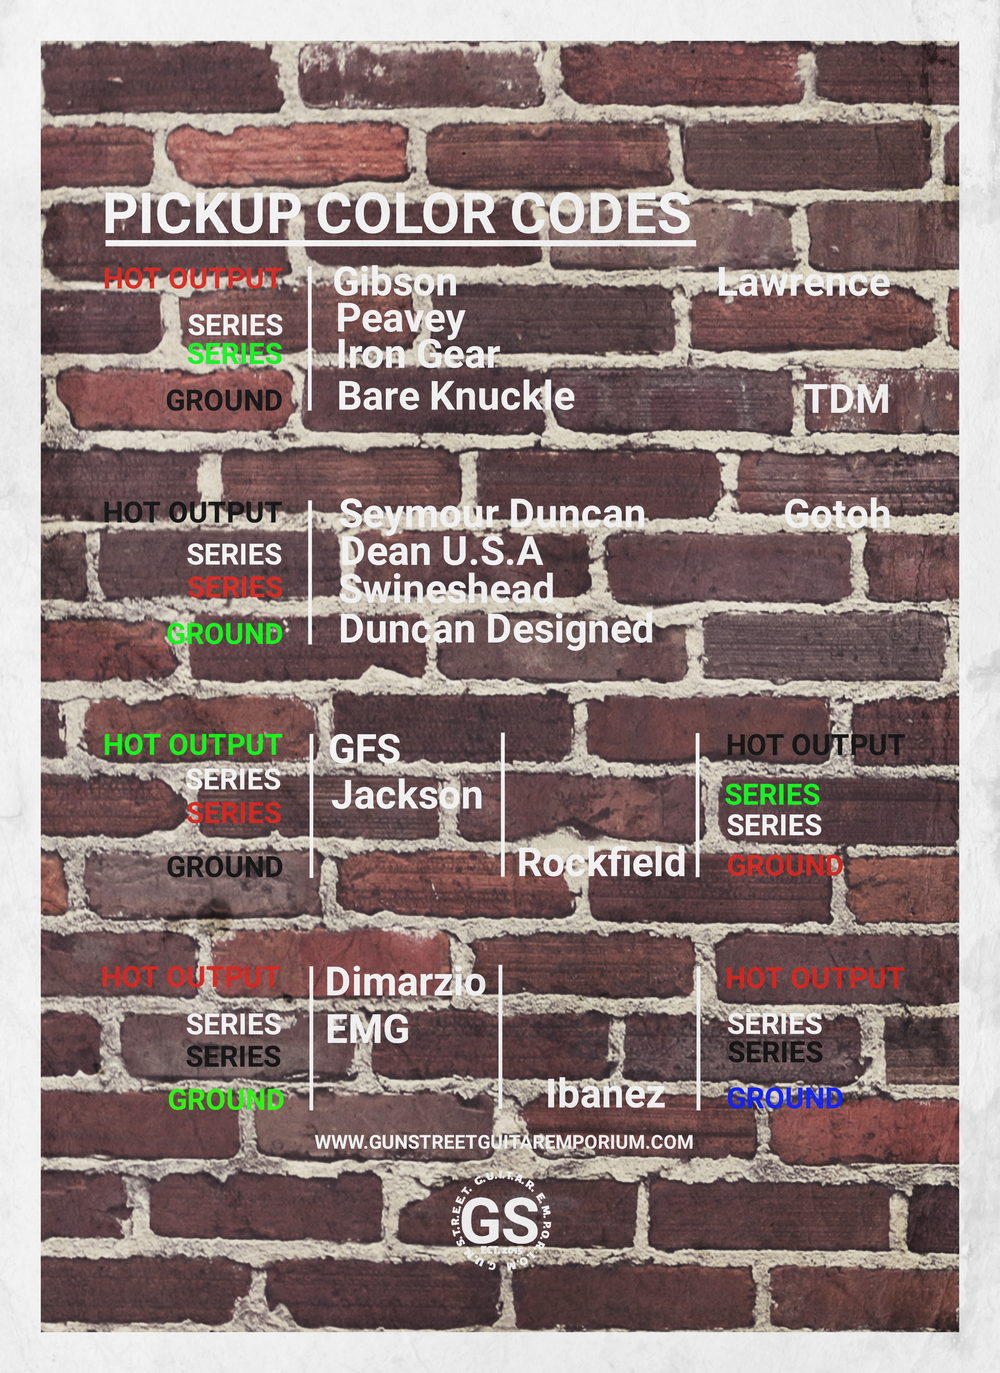
Pickup Color Codes
For this tutorial we will be using Gibson Color Codes. Each pickup brand uses their own set of color codes. So these colors might not match your pickups. We have included this diagram showing you all the color codes for other brands. If you pickup manufacture
Click any photo to enlarge it
Neck Pickup Install
"Solder your pickups Hot Wire to the Black Wire coming from your Neck Volume pot."

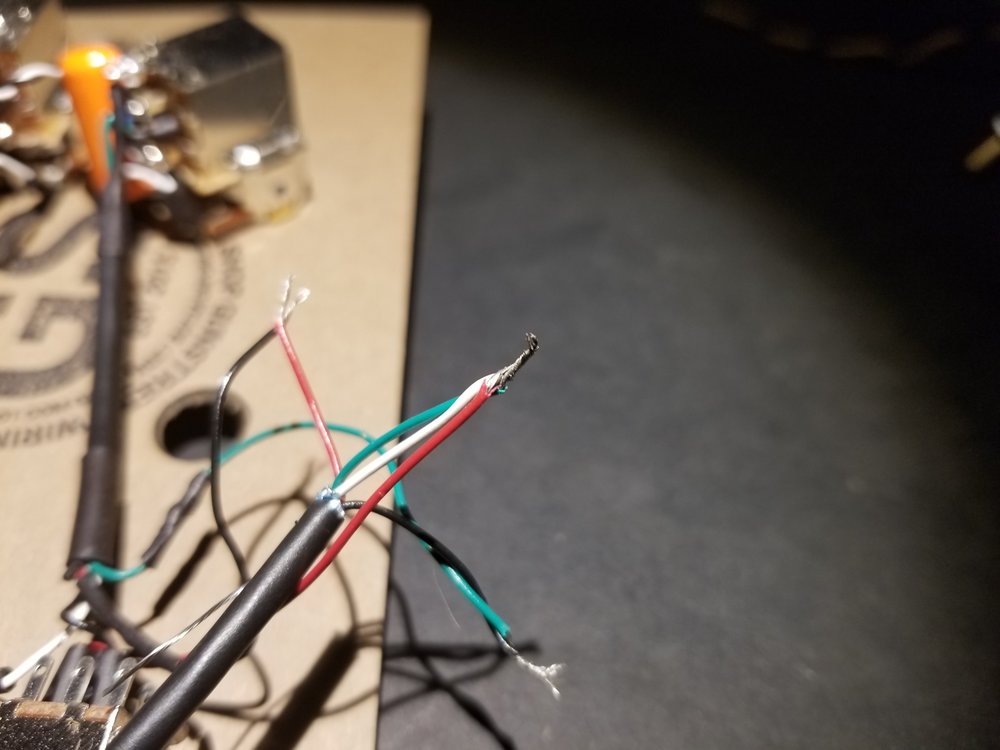
"Solder the pickups Series Wires to the White or Red Wire depending on your harness coming from your Neck Volume pot."
"Solder the pickups Ground Wire to the Green Wire coming from your Neck Volume pot."

"Solder the pickups Bare Wire to the back of the Neck Volume pot."
Repeat these Steps with the Bridge Pickup for the Bridge Volume Pot
Although not required we suggest taping off pickup leads after soldering to help prevent issues
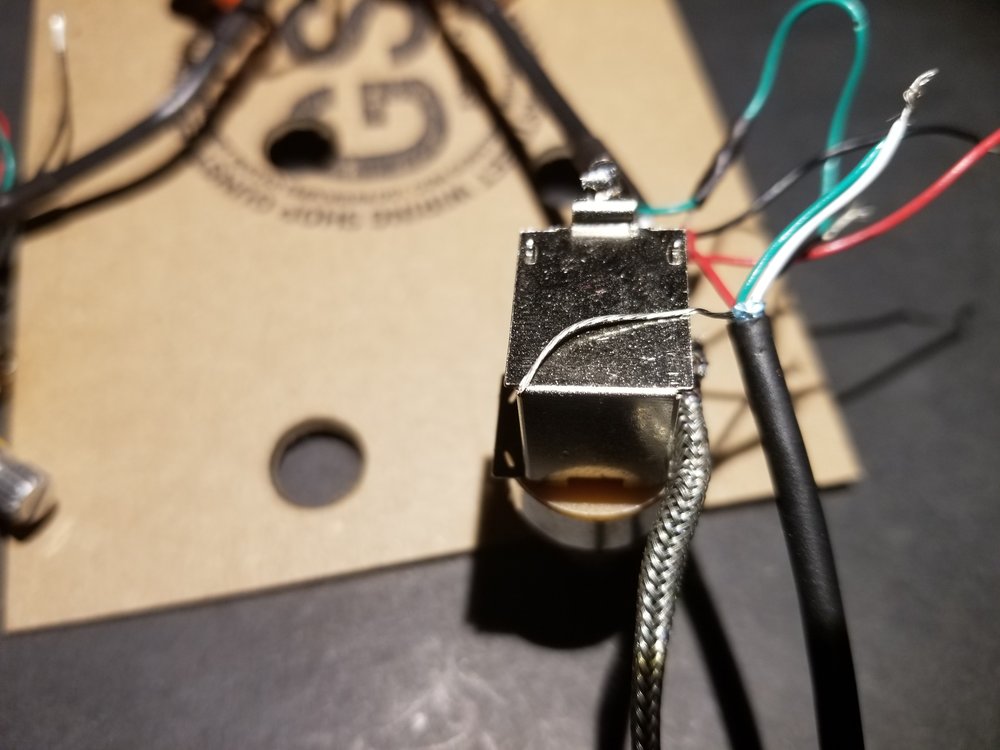
Guitar Ground
Solder the Ground Wire coming from your guitars bridge to the back of any pot. With this guitar the easiest spot was the Ground used for the Bridge Pickup

Switch


4.Solder the Black cloth wire to the bottom middle lug (labeled G on switch diagram)
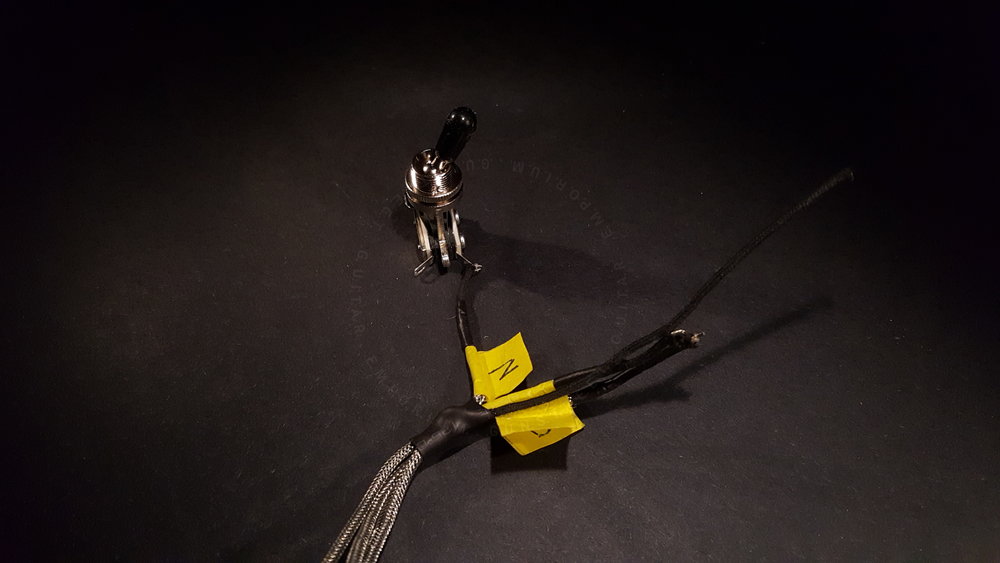
1. Solder the wire label N to the right lug on the switch
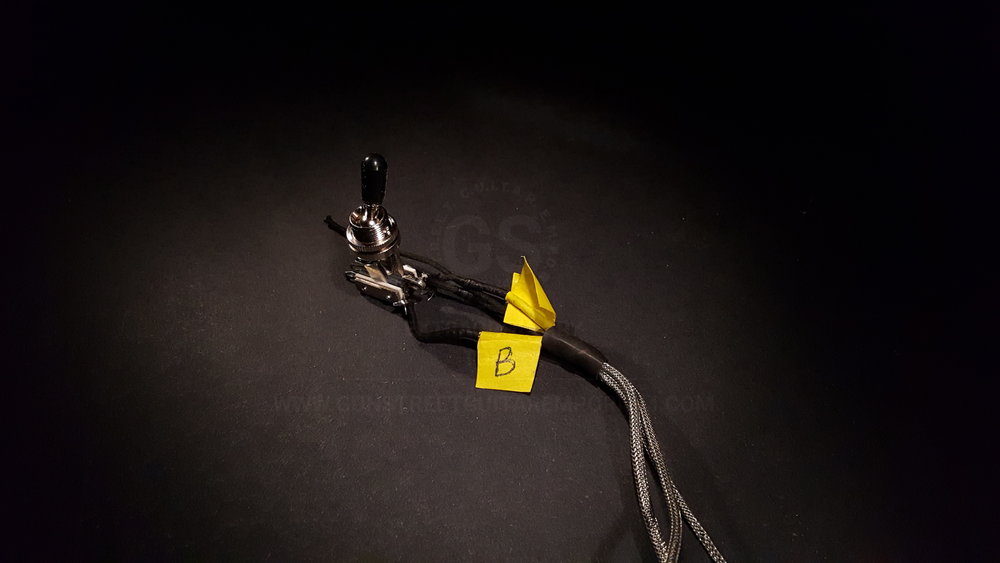
2.Solder the wire label B to the left lug on the switch
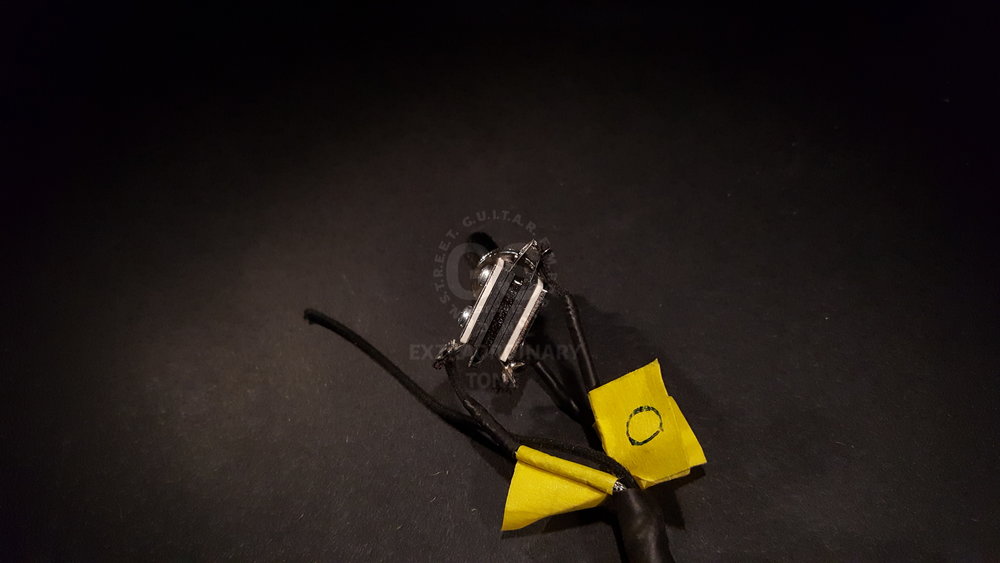
3.Solder the wire label O to the Top Middle lugs on the switch (See Diagram)
That's It!
Before reconstructing the guitar, you can test if the controls work by lightly tapping the pickups with a metal object.
